
News
Pre-Trip Inspection Checklist for Long-Haul Trucking: Brakes, Tires and Air Pressure
In the cost structure of long-haul trucking, the most expensive item is often not fuel but a breakdown en route. When a fully loaded heavy truck fails on a stretch far from any service station, the tow, the wait for parts, the delayed delivery and the customer penalty usually add up to more than the freight revenue for the trip. And among all the causes of breakdown, brake, tire and air-pressure faults account for the largest share — and most of them can be found in the ten minutes before departure.
This article splits the pre-trip check along three main lines — brakes, tires and air pressure — gives concrete pass/fail criteria and a checklist that can be printed and used directly, for Sinotruk fleets operating in high-temperature, dusty, long-distance conditions.
1. Why the check belongs before loading
Timing matters. Before loading the truck is empty, which makes it easy to jack up a wheel, crawl underneath to inspect the brake chambers, and easy to adjust the load distribution or change vehicles if a problem turns up. Discover an air leak in the brake circuit after loading and you will usually have to unload where you stand, at a much higher cost.
Another reason is the difference between hot and cold. Tire pressures must be measured before the tires have warmed up; readings taken after a stretch at highway speed are considerably higher than cold readings, and judging by the hot figure easily leads to the false conclusion that the pressure is fine when the cold pressure is actually low. The pressure check is therefore best done before the first trip of the day.
2. Brakes: read the gauges first, then touch anything
The order for checking an air brake system is fixed: first whether the pressure is sufficient, then whether the pressure holds, and only then the mechanical components. Do it the other way round and you will keep adjusting mechanical parts while the fault is in the air circuit itself, wasting time.
(1) Three pressure figures
The Sinotruk HOWO series uses dual-circuit air brakes; the system working pressure and the governor cut-out pressure are about 0.85 MPa (8.5 bar). That figure is the system ceiling, not the standard for moving off. Whether the truck can go depends on the three values below.
First, 0.55 MPa. This is the low-pressure warning threshold. If the reservoir pressure in either circuit falls below it, the low-pressure warning lamp on the dash lights, and the truck must be stopped and the leak traced; it must not be driven on. Several full brake applications in quick succession can also pull the pressure below this figure, which is normal, but once the warning lamp is on the truck must stop.
Second, 0.7 MPa. This is the threshold for normal driving. Below 0.7 MPa reservoir pressure the vehicle does not yet have the specified braking performance; the warning lamp going out only means pressure is beginning to build, not that the truck may move off. Many drivers see the lamp go out, select a gear and drive away — a common mistake.
Third, 0.85 MPa. This is the upper limit of the normal working pressure range, controlled by the governor. If the pressure does not reach 0.8 MPa or above over a long period, check the compressor, the air dryer and the lines for leaks or blockage.
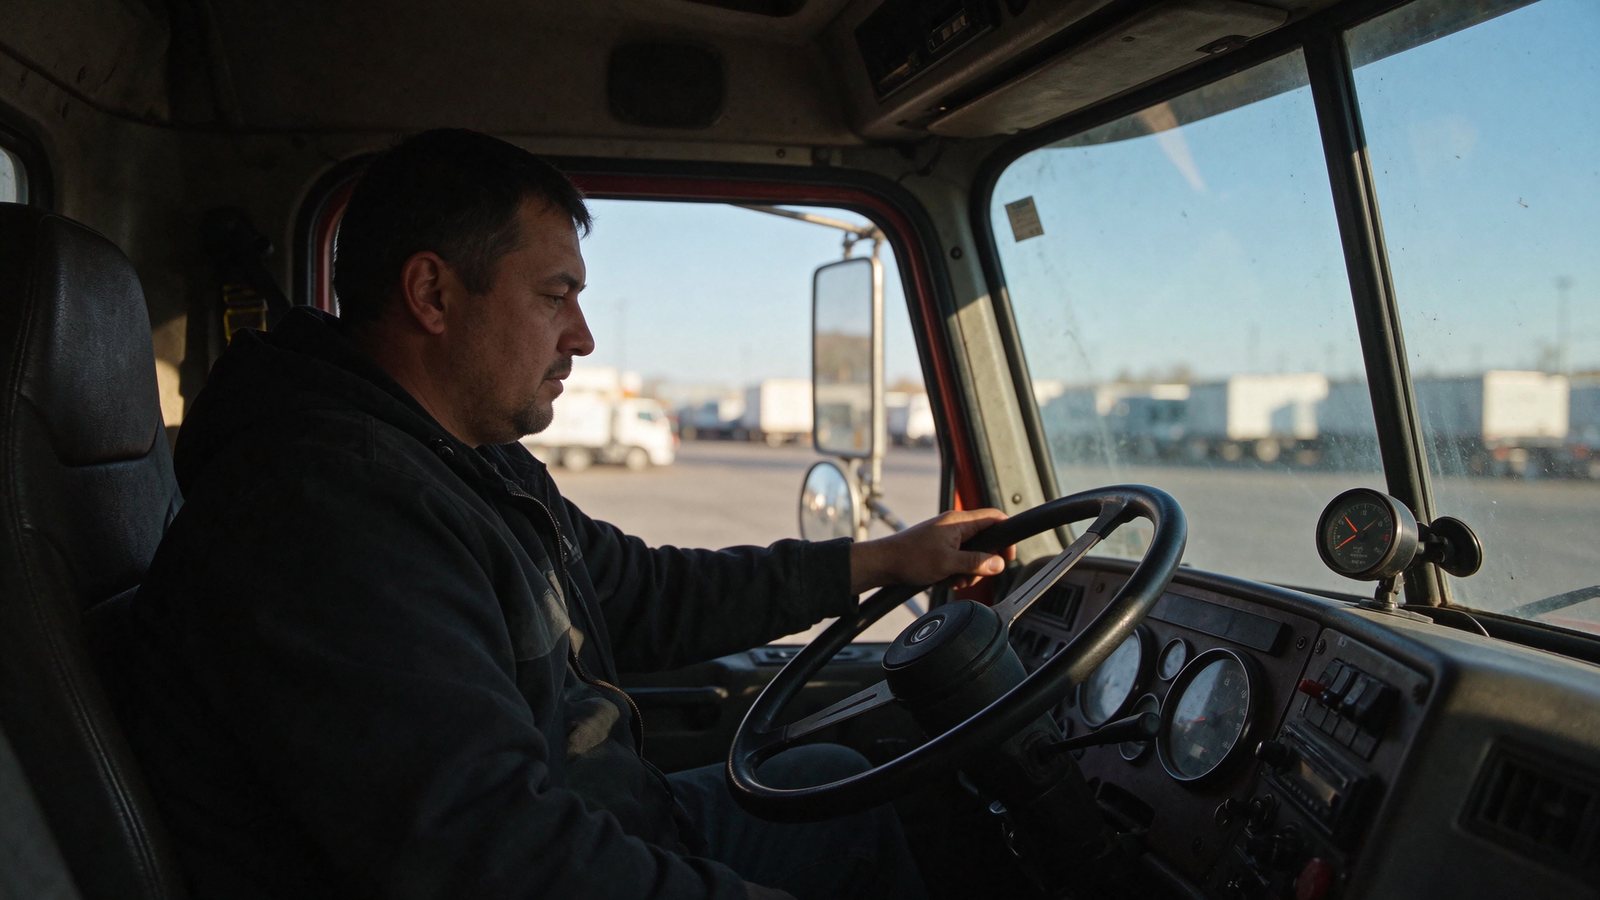
Figure 1 Read the dual-needle air gauge before moving off; both circuits must be in the normal range
(2) Engine-off pressure retention test
A slow leak in the air circuit cannot be found by listening; it needs a pressure retention test. The method: switch off the engine, apply the parking brake, note the current pressure, wait a set period and read the gauge again.
Sinotruk’s criterion is: a pressure drop of no more than 0.05 MPa within 2 hours, or no more than 0.01 MPa within 30 minutes. More than that means the system is leaking and must be traced section by section — the usual places are brake hose unions, reservoir drain valves, the air dryer and brake chamber diaphragms.
For reference, whole-vehicle air-tightness inspection uses a stricter standard: raise the pressure to 750 kPa, stop the compressor, and the drop must be no more than 10 kPa within 3 minutes; at the same pressure, press the brake pedal fully down, let the pressure stabilize, then observe for 3 minutes and the drop must be no more than 20 kPa. The simplified version is enough for a daily self-check; the strict standard is for workshop inspection.
(3) Drain the reservoirs every day
Moisture in the compressed air collects at the bottom of the reservoirs. Too much water does two things: it takes up air volume, and it carries water into the brake valves and chambers, freezing in winter and corroding the valve spools the rest of the time. Every reservoir has a drain valve; open it before departure and drain until air, not water, comes out.
If a lot of water comes out every time, the air dryer has failed or the desiccant is saturated and needs replacing — do not just keep draining the reservoirs every day and hope.
(4) Brake chambers, slack adjusters and hoses
Crawl underneath and look at three things: whether the brake chamber diaphragm housing has cracks or oil contamination, whether the pushrod extension is the same on both sides, and whether the automatic slack adjuster returns properly. If pushrod travel differs greatly between left and right on the same axle, the brake clearance on one side is already wrong, and the truck will pull to one side when braking.
Check the brake hoses for bulges, cracking and rub marks against the frame. Once a plastic air line is worn through, the symptom is a slow leak; a pressure retention test will find it, but the eye rarely can, so follow the route of each line and check that no retaining clip has come off.
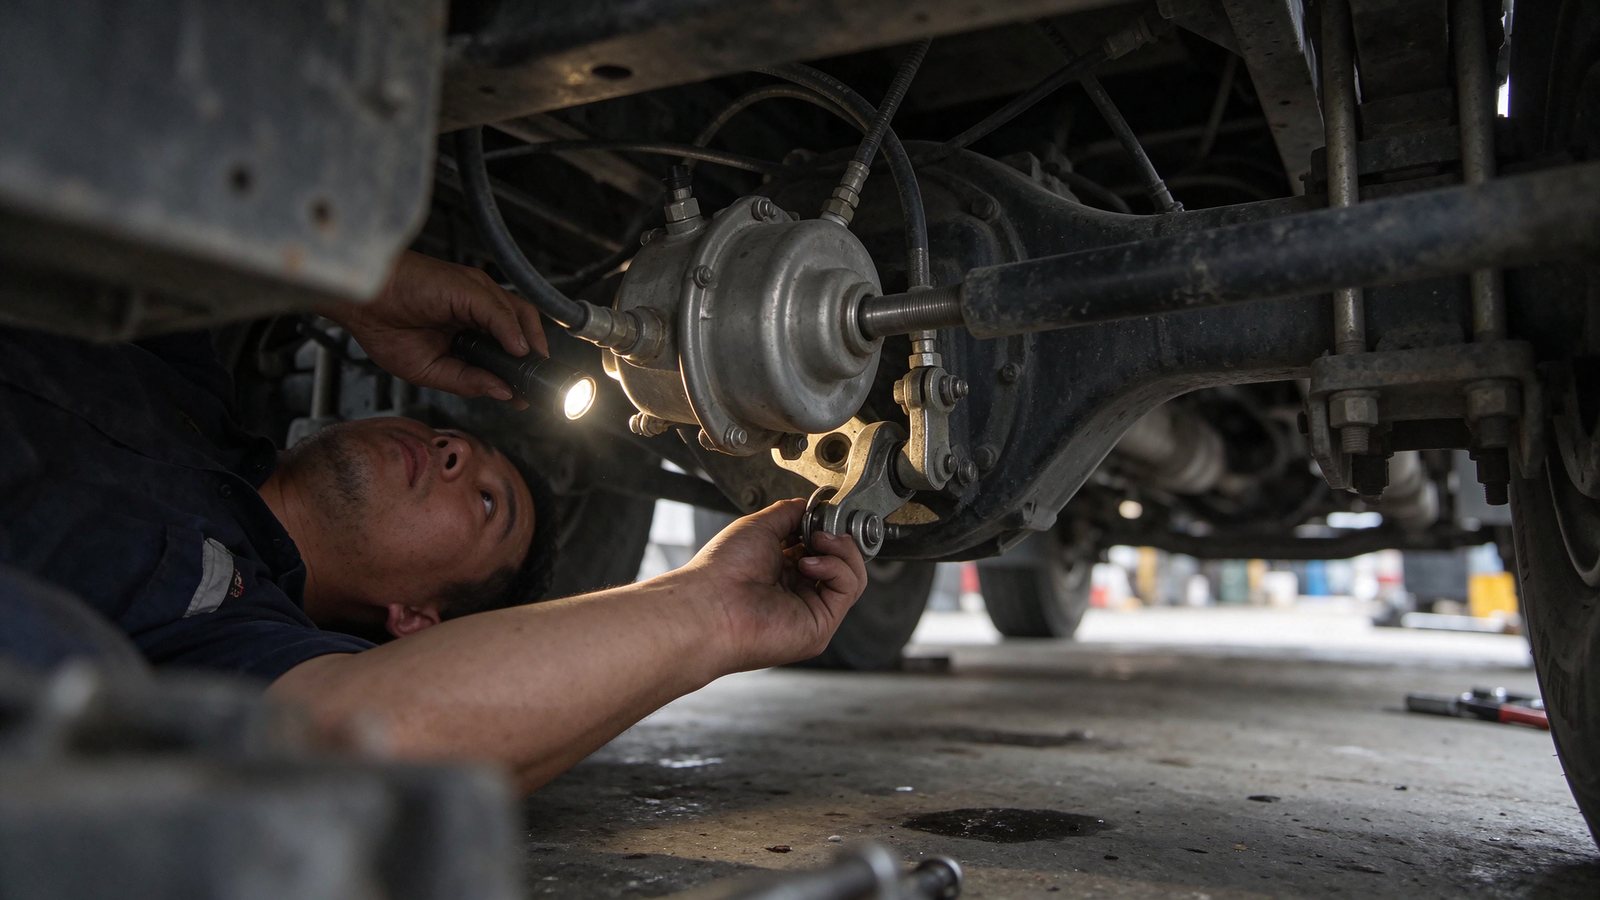
Figure 3 Under the truck: check the brake chamber diaphragm, pushrod travel and slack adjuster
(5) Pedal and low-speed road test
Brake pedal free play is about 9±3.5 mm according to the vehicle technical specification; too much means there is clearance in the relay valve or the linkage, too little can cause brake drag. Pressing the pedal should produce a clear exhaust sound, and the pedal should return fully when released.
Finally, do one low-speed road test on site: at 10 to 20 km/h apply the brakes once and feel for pulling, abnormal noise and steering wheel vibration. That one minute on the road says more about real braking performance than ten minutes looking underneath.
3. Tires: pressure, tread, duals
Tires account for a considerable share of the running cost of a heavy truck, and tire life depends almost entirely on pressure management. At 20% below the correct pressure, tire mileage can fall by more than a third, while casing temperature rises and the risk of a blowout at highway speed increases markedly.
(1) Reference pressures
Table 1 Reference tire pressures for heavy trucks
| Position | Reference pressure (bar) | Remarks |
|---|---|---|
| Steer axle (front wheels) | 9.0–9.5, never above 10 | Too high a pressure on the steer axle reduces grip |
| Drive axle (rear duals) | 11–11.5, never above 12 | Adjust to load and to the tire marking |
| Trailer / semi-trailer wheels | Per the trailer manual and the tire marking | Managed separately from the tractor |
| Spare wheel | Slightly above working pressure | Check once a month |
Note: the figures above are reference values for common Sinotruk models. They differ considerably with tire size and load; the manual supplied with the vehicle and the maximum pressure marked on the tire sidewall take precedence.
Use a tire pressure gauge with a dial; do not judge by kicking the tire or by looking at the contact patch. Measure with the tires cold, and refit the valve caps afterwards — a lost cap lets sand and dirt into the valve core, and that is how slow leaks usually start.
One more rule that is easily overlooked: on a dual fitment, the pressure difference between the inner and the outer tire should not be large. One at 11.5 and one at 9.5 both look within the usable range, but their rolling radii differ, so the smaller one slips continuously and is quickly worn out, while the load is transferred entirely to the other.
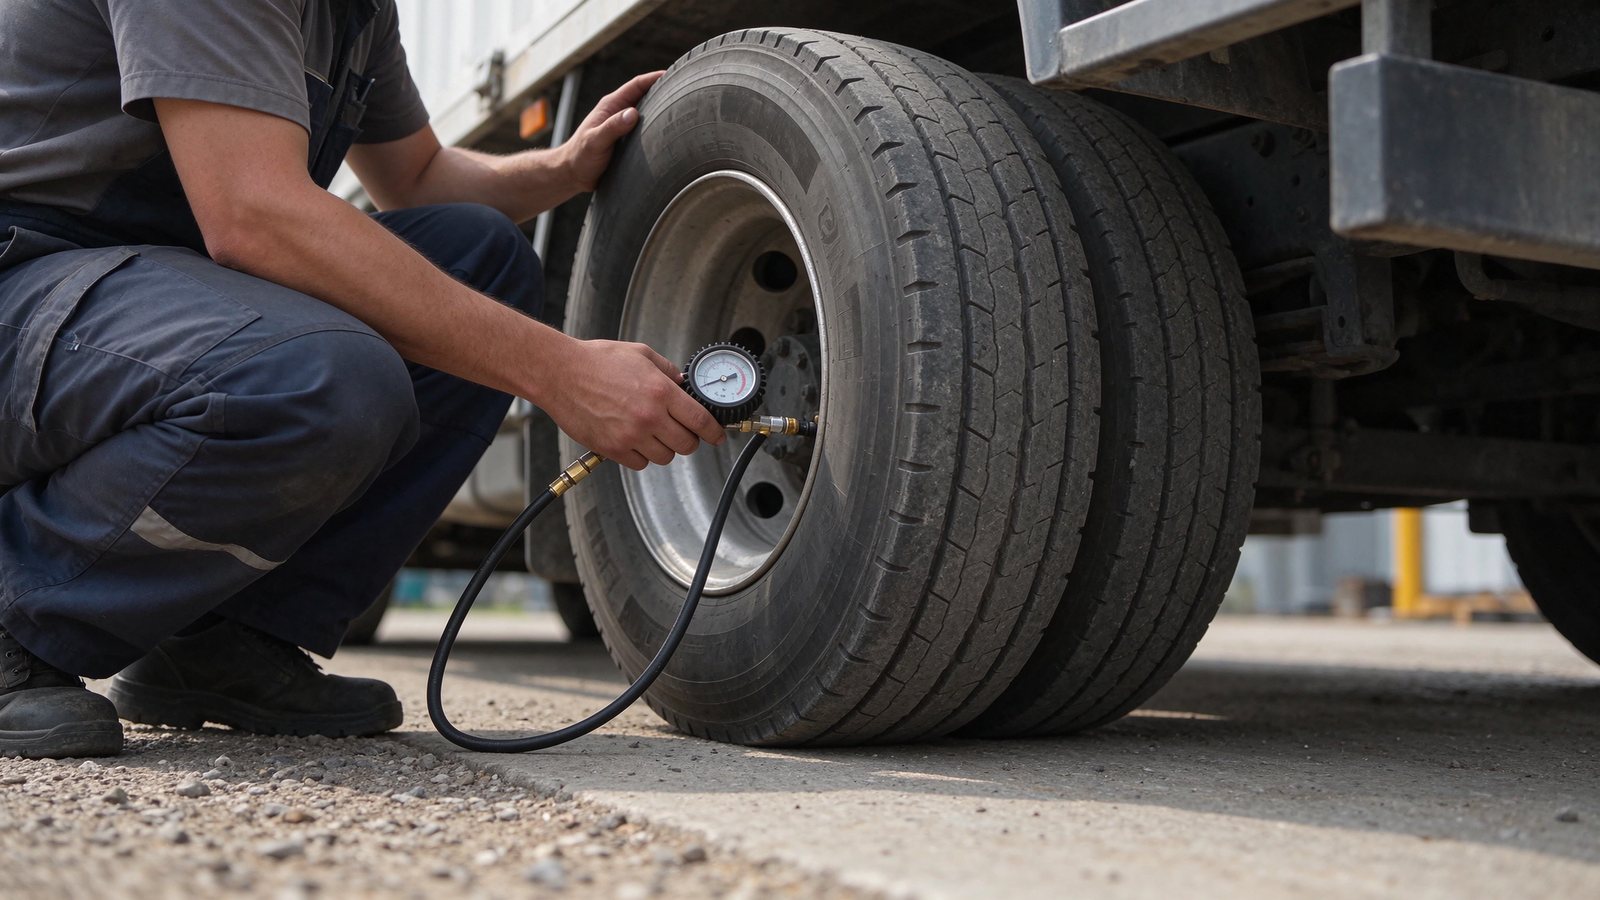
Figure 2 Measure cold with a gauge; on duals, measure and record each tire individually
(2) Tread depth and wear pattern
The legal minimum tread depth in most markets is 3.2 mm on the steer axle and 1.6 mm on the other tires. That is a floor, not a recommendation: at that depth water clearance and grip are already poor, and the risk of slipping on red-dirt roads and in rain rises sharply. In real operation, drive-axle tread below 4 mm is the point to consider rotation or replacement.
The wear pattern tells you more than the depth. Tread wearing faster in the middle than at the edges is typical of long-term over-inflation; shoulders wearing faster than the middle is long-term under-inflation; one-sided or scalloped wear usually comes from wheel alignment, hub bearings or brake drag, and new tires alone will not fix it.
Look at the sidewalls for three things in particular: bulges, cuts and exposed cord. A bulge cannot be repaired, and once cord is exposed any repair is temporary. Many African routes carry sharp gravel and scrap metal, so sidewall cuts are common; checking each tire before departure is far less trouble than changing a wheel on the road.
(3) Between the duals and the rims
Stones lodge most easily between dual tires. Constant crushing wears pits into both sidewalls and, in bad cases, wears right through. Shine a torch into the gap between the duals and clear out stones, wire and wood fragments.
Check the rims for cracks and distortion; on vehicles that have been overloaded for a long time, fatigue cracks commonly appear at the rim edge. Check every wheel nut for looseness and loss — a missing nut doubles the load on the rest and can eventually crack the rim.
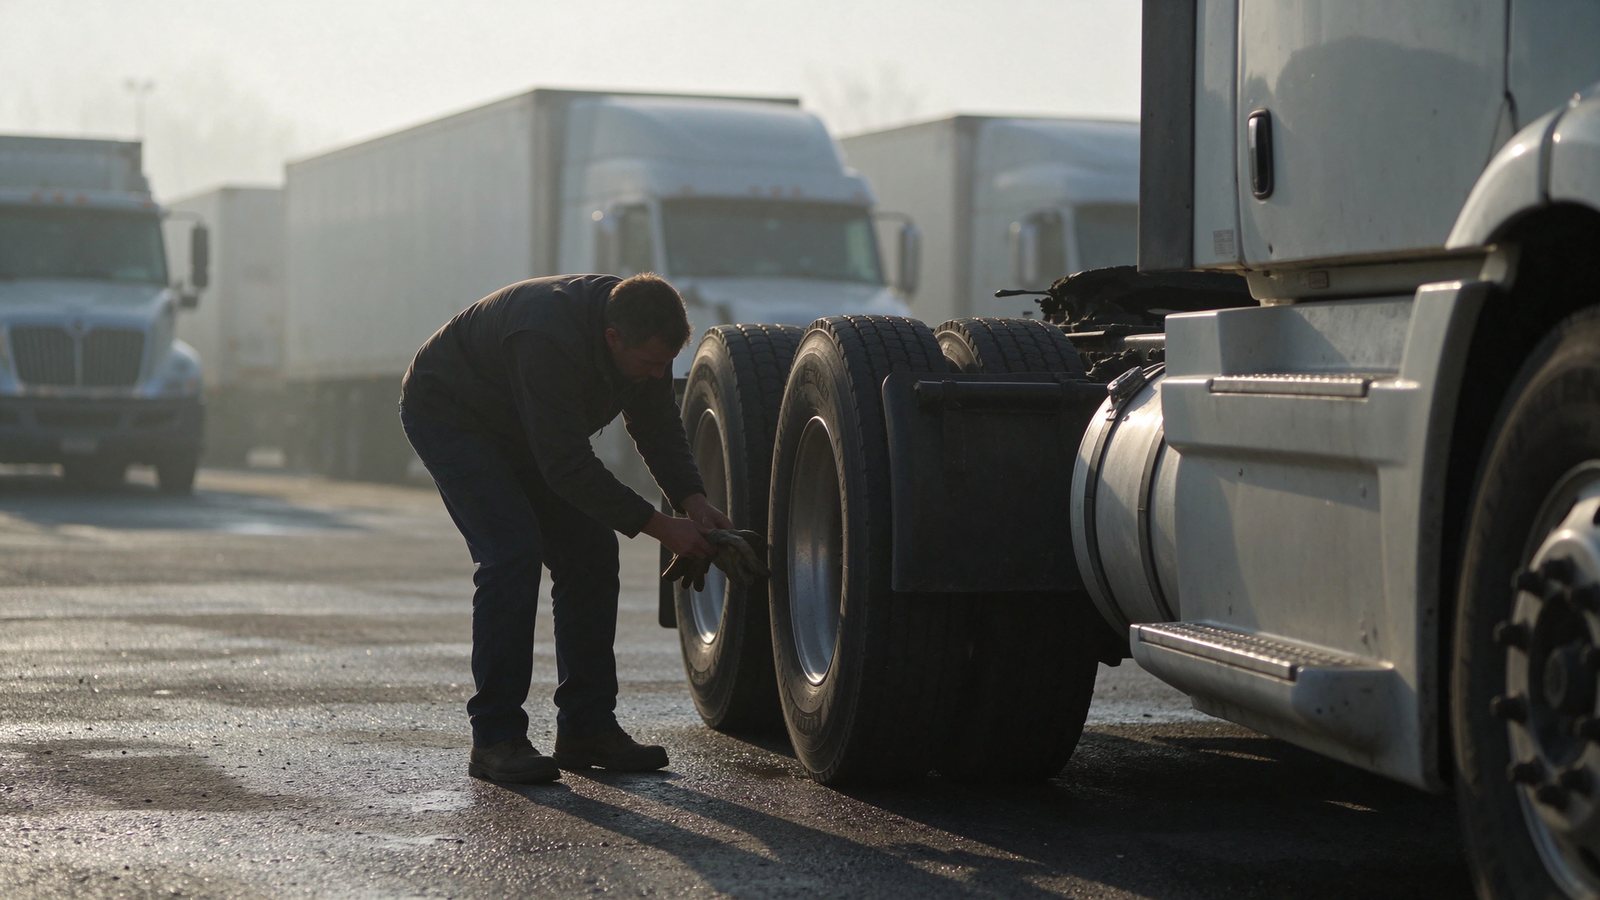
Figure 4 Walk round the truck: clear stones from between the duals, check sidewalls for cuts, verify the wheel nuts
4. Other items that must not be missed
Beyond brakes and tires, a few checks take only a few minutes but are costly if skipped.
(1) Oils and coolant
Check engine oil, coolant, power steering fluid, and gearbox and axle oil at their dipsticks or sight glasses. Before a long trip, top up to the upper mark rather than setting off at the lower one. Check coolant with the engine cold; opening the cap while hot risks scalding.
(2) Steering and suspension
Steering wheel free play is normally within 15 degrees; more than that and the tie-rod ball joints and steering gear need checking. Check the leaf springs for broken leaves and the U-bolts for looseness; a truck sitting visibly lower on one side usually has a spring problem.
(3) Lights and brake lights
Long-haul routes often have poor lighting at night; lights are safety equipment, not decoration. Check the brake lights and rear fog lamps in particular: if the brake lights do not work, the vehicle behind cannot tell that you are slowing, which is very dangerous at night or in dust.
(4) Load and securing
After loading, verify gross weight and axle load distribution. Overloading lengthens braking distance and shortens the life of tires and springs, and in many countries it is a direct fine. Check the load restraints once more before departure; cargo that comes loose on the road is both dangerous and a reloading job.
5. A checklist you can print
The table below condenses the items above into 20 points, in walk-around order. Print it out and put it in the cab or the fleet dispatch office, and tick each line before every departure.
Table 2 Pre-trip inspection checklist for long-haul trucking
| Check item | Pass criterion |
|---|---|
| 1. Dual-circuit air pressure | Both circuits in the normal range, not below 0.7 MPa |
| 2. Low-pressure warning lamp | Off after start-up, does not light while driving |
| 3. Engine-off pressure retention | Pressure drop no more than 0.01 MPa in 30 minutes |
| 4. Reservoir draining | Air only, no significant water |
| 5. Brake hoses | No bulges, cracking or wear-through |
| 6. Brake chambers and pushrods | Diaphragms intact, travel equal on both sides of the axle |
| 7. Slack adjusters | Return normally, no binding |
| 8. Pedal free play | About 9±3.5 mm, returns fully |
| 9. Low-speed brake test | No pulling, no abnormal noise |
| 10. Parking brake and spring brakes | Holds reliably, releases normally |
| 11. Front tire pressure | 9.0–9.5 bar (cold) |
| 12. Drive tire pressure | 11–11.5 bar (cold) |
| 13. Pressure difference between duals | Inner and outer close, no significant difference |
| 14. Tread depth | Steer axle ≥3.2 mm, others ≥1.6 mm |
| 15. Sidewall condition | No bulges, cuts or exposed cord |
| 16. Debris between the duals | No stones, wire or wood fragments |
| 17. Rims and wheel nuts | No cracks, nuts complete and tight |
| 18. Oils and coolant | All levels between the upper and lower marks |
| 19. Steering and suspension | Free play normal, no broken spring leaves |
| 20. Lights and load | Brake lights working, gross weight within the limit |
Note: this checklist is the standard-condition version; increase the inspection frequency for high dust, long descents or heavy-load duty.
6. Four extra reminders for African road conditions
(1) Red-dirt roads and dust
In the dry season the dust on red-dirt roads is extremely fine and works its way through every gap into air line unions and brake chambers. After a stretch of that kind of road, it is worth checking the air line unions and the dryer drain, and shortening the dryer replacement interval if necessary.
(2) Long descents
Continuous long descents are where heavy-truck brake failure is most concentrated. Before departure, confirm that the exhaust brake or retarder works; on long descents use the auxiliary brake as the primary means and the service brake only as a supplement, and do not let the brakes sit at high temperature for long periods.
(3) High temperature
In high ambient temperature tire pressure rises with temperature, and higher pressure after a long run is normal — do not let air out while the tires are hot. Judge under-inflation only from cold readings. Heat also ages brake hoses and rubber parts faster, so look at them more carefully.
(4) Overloading
Overloading shortens tire life, lengthens braking distance and accelerates spring fatigue at the same time. If the truck is visibly sagging and the tires visibly flattened when you inspect them, reduce the load before departure rather than trying to “solve” it by raising the pressure.
7. Conclusion
The value of a pre-trip check is not in the ten minutes themselves but in the fact that it stops three kinds of high-cost failure before departure. Enough pressure, pressure that holds, and tires in proper condition — confirm those three on every trip and long-haul reliability looks noticeably different.
We are an authorized first-tier Sinotruk dealer based in Jinan, long engaged in the export of Sinotruk complete vehicles and parts. We supply HOWO, SITRAK and other series, together with genuine brake valves, brake chambers, air dryers, tires and maintenance parts, and provide left- or right-hand drive and the appropriate emission level for the target market, with operating documentation in English. If you need a departure inspection sheet for a specific model, or a stock list and quotation for common wear parts, please contact us: we can give you an executable plan based on model, duty cycle and route conditions.
The technical parameters in this article are based on Sinotruk HOWO series vehicle technical documentation and the relevant national standards. Specific inspection criteria and pressure values are subject to the manual supplied with the vehicle and to local regulations.